
The deposit is paid, the production schedule shows the last bay in the coating area, and then the email arrives: balance payment due before dispatch. What happens in the two or three weeks before that request decides whether the container that leaves the factory holds exactly what you ordered.
A marquee order fails at handover in ways no quotation reveals: a cover packed without its fire-test documents, a keder edge scuffed by a rough pallet, hardware cartons short of the bolts for the last two bays. A pre-shipment inspection exists to catch these while they are still cheap to fix. This checklist sets out what to inspect, what evidence to demand, and how each finding converts into an action before the balance is released.
What a Pre-Shipment Inspection Covers on a Marquee Order
A pre-shipment inspection is not a factory tour and it is not a re-run of the engineering review. It is a staged acceptance against documents that already exist: the quotation, the marquee tent specifications agreed for your project, and the packing list the supplier issued with the order confirmation.
The scope breaks into three layers. First, the product against the specification: frame profiles, membrane weight, walling and doors as quoted. Second, the packing against the packing list: component families, quantities and crate marking. Third, the documents against your destination requirements: fire-test certificates, anchoring drawings and any paperwork your port or authority expects. An inspection that skips one of the three layers leaves exactly that gap uncovered.
Which Frame Checks Matter Before the Balance Payment
Start with the profiles. The quotation should name the alloy and temper; on our industrial projects the frame is extruded 6061-T6 aluminium with a hard anodised finish for corrosion resistance. During inspection, confirm the profile sections match the drawings, and walk the racks looking for dents, deep scratches in the anodised surface and bent keder beads. Surface damage that looks cosmetic in the workshop becomes a corrosion and wear point after two seasons outdoors.
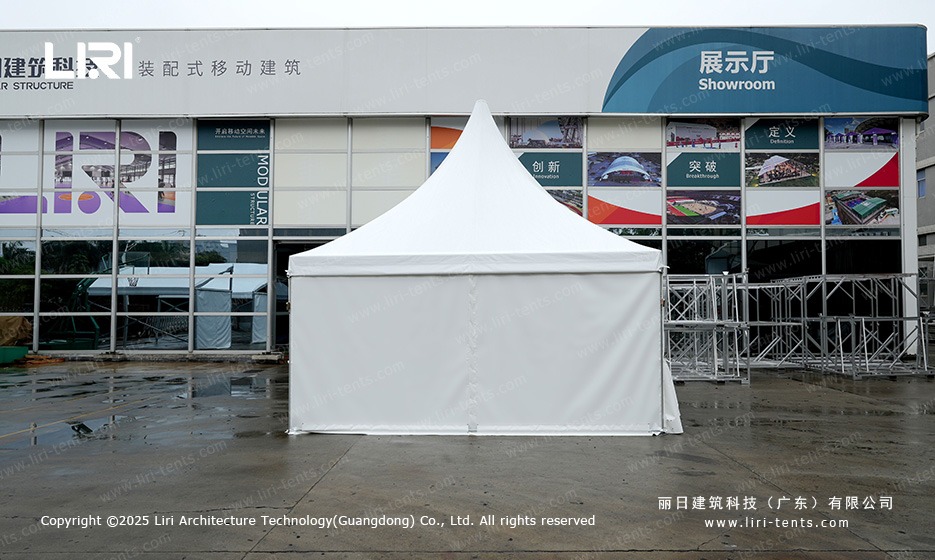
Then check the connections. Commercial clear-span frames are bolted rather than welded, so every joint should arrive as profiles plus connector plates, bolts and pins. Count the hardware cartons against the bill of materials rather than accepting a sealed box. The photograph below shows the kind of close-up evidence worth demanding per component family before anything is packed.
What to Check on Membranes, Seams and Fire Documentation
The roof and wall covers deserve the slowest part of the inspection. Seams should be factory-welded rather than stitched: hot-air welded seams remove the needle holes that stitched fabric leaves behind as a leak path. Unfold a sample cover flat and follow each weld line end to end, looking for skipped sections, delamination at fold points and scorching. A weld defect found before packing costs a rework afternoon; the same defect found on site costs a crane, a crew and a rescheduled event.
Next, match the fabric against the quotation. Membrane weight is a project-specific value, so the number to check is the one written in your own documents, not a generic figure: the PVC on our aircraft hangar marquee, for example, is a double-side coated polyester fabric quoted at 850 g/m² for that project. Finally, check the fire documentation. The cover should carry flame-retardant certification to the standard named in your quotation, such as DIN 4102 B1 or NFPA 701, and the certificate number, issuing body and scope should match the batch packed for you.
Which Documents Must Match the Packed Container
The third layer is paperwork, and it is the layer buyers skip when time runs short. The check is simple: every document must describe the container that is actually being sealed. Work through the pairs below during the inspection, and photograph each document next to the crates it describes.
| Document | What it must match |
|---|---|
| Packing list | Crate count, component families and quantities loaded, item by item |
| Specification sheet | Profile sections, membrane weight, walling and doors as quoted |
| Fire-test certificates | Standard, certificate number, issuing body and fabric batch |
| Crate marking | Project reference and bay positions that match the installation plan |
Container-level handling, from fill plan to unloading sequence, is covered separately in our marquee container loading and export packing checklist. The pre-shipment inspection confirms what goes into the container; the loading plan governs how it rides.
Who Should Inspect, and When
You have three options, and the right one depends on order size and distance. A personal visit gives the deepest view but rarely fits the schedule. An independent third-party inspection agency works to your checklist and reports in writing, which is the usual route for containerised orders. A documented remote acceptance, where the supplier films each check live against your list, is the minimum standard for smaller orders.
Timing matters as much as the inspector. The useful window opens after final assembly and cover fabrication are complete and closes when the last container door is shut. Booking the inspection for the day before dispatch removes any chance to act on findings, so tie the inspection date to the payment schedule instead: the balance falls due after the report is accepted, not before.
The documents you are checking against should already exist by this stage. If your order was briefed properly, the marquee tent buying guide lists what to request from the supplier before production starts, which is what makes a pre-shipment inspection possible at all.
What to Do When the Inspection Finds a Problem
Classify every finding as blocking or non-blocking before you negotiate. Missing components, a fabric batch without matching fire certificates, or damaged keder edges are blocking: hold the shipment. Cosmetic anodising marks away from load-bearing surfaces are usually non-blocking, and the practical answer is a priced adjustment or agreed spare profiles shipped with the order rather than a delay.
Each finding needs three records: a photograph, the document line it contradicts, and the agreed action with a date. That record is what converts a disagreement into a settled claim if anything recurs, and it feeds directly into the warranty and replacement-part process. Once the container reaches you, the marquee maintenance and storage checklist takes over the other end of the same discipline: keeping accepted components in a condition that preserves those claims.
If you are preparing an order and want the acceptance scope agreed before production starts, contact our team with your project location, span and timeline, and we will confirm which documents your inspection should check against.
 Marquee Container Loading and Export Packing: A Buyer Checklist
 Marquee Price per Square Metre: What the Figure Hides in a Quotation
 29m x 40m Electric Retractable Basketball Court Marquee for Lock Park Sports Facility
 18.5m x 36m Polygon Tennis Court Marquee PG18.5×36-600 | Clear-Span Aluminum Sports Hall
 30x40m Foundation Ceremony Marquee Tent for Industrial Park Groundbreaking Event
 Wind and Weather Planning for Commercial Marquees